
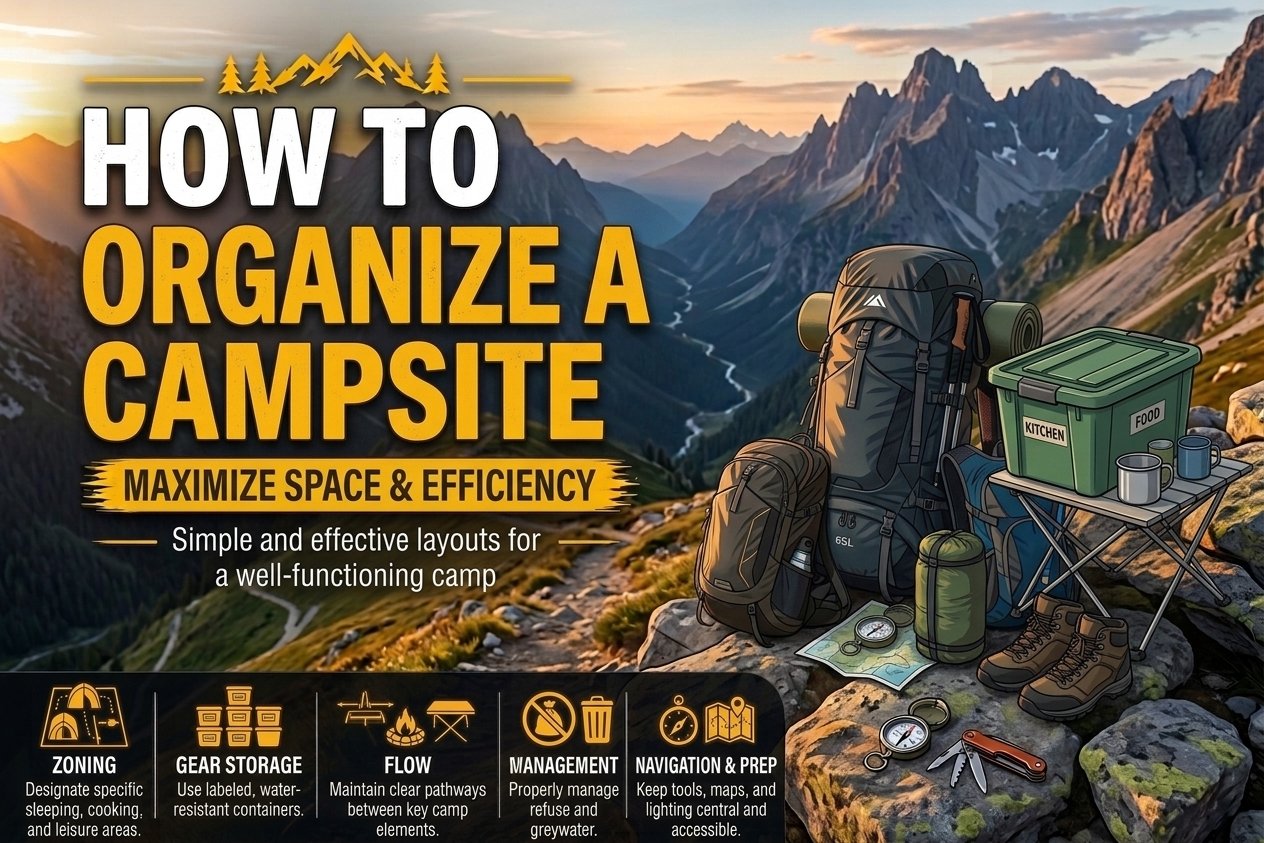
How to Organize a Campsite: The Ultimate Guide to a Clean, Comfortable, and Stress-Free Camp
Setting up a campsite can be one of the most enjoyable parts of a camping trip—but without a little organization, it can quickly become messy and stressful. Camping gear can pile up, food can become difficult to find, and important items may end up scattered around your tent.
Learning how to organize a campsite makes your outdoor experience more comfortable, safer, and much easier. Whether you’re camping with family, friends, or by yourself, a well-organized campsite helps you spend less time searching for things and more time enjoying nature.
In this guide, you’ll learn how to organize your campsite step by step, where to place your tent, cooking area, food, camping gear, trash, and personal belongings.
Why Is Campsite Organization Important?
A well-organized campsite is more than just visually appealing. Good organization can make your camping trip safer and more enjoyable.
When everything has a designated place, you can:
- Find your camping gear quickly
- Keep your sleeping area clean
- Prepare meals more efficiently
- Reduce the risk of tripping over equipment
- Protect food from animals and insects
- Keep wet and dirty items away from your tent
- Make your campsite easier to clean
- Create a more comfortable outdoor living space
The key is to think of your campsite as a small outdoor home. Every area should have a purpose.
1. Choose the Right Campsite Location
Before organizing your equipment, choose a suitable location.
Look for a relatively flat and dry area for your tent. Avoid areas where water could collect during rain, such as low spots or depressions in the ground.
You should also consider:
- Distance from water sources
- Wind direction
- Shade and sunlight
- Drainage
- Nearby trees and branches
- Distance from cooking areas
- Privacy from other campers
Avoid setting up directly under dead or damaged branches. Strong wind can cause branches to fall and create a serious hazard.
Once you’ve chosen the best location, you can start creating different zones around your campsite.
2. Create Different Campsite Zones
One of the easiest ways to organize a campsite is to divide it into functional zones.
Instead of placing everything wherever there is space, create specific areas for different activities.
A simple campsite layout can include:
Sleeping Zone
This is where you place your tent, sleeping bags, pillows, and nighttime essentials.
Keep this area as clean as possible. Avoid storing cooking equipment or dirty shoes inside your tent.
Cooking Zone
Your cooking area should be separate from your sleeping area whenever possible.
Place your stove, cooking utensils, water, and food preparation supplies together so everything is easy to reach.
Eating Zone
If you have a camping table and chairs, create a dedicated eating area.
Keeping meals in one location makes cleanup easier and prevents food and crumbs from spreading around the campsite.
Gear Zone
Use this area for backpacks, camping chairs, lanterns, shoes, coolers, and other equipment.
Keeping larger items together prevents your campsite from becoming cluttered.
Relaxation Zone
Leave a comfortable area for sitting, reading, playing games, or simply enjoying the view.
A few camping chairs around a small table can turn an ordinary campsite into a comfortable outdoor living room.
3. Set Up Your Tent First
Your tent is the center of your campsite, so set it up before unpacking most of your gear.
Choose the best available position and make sure the tent entrance is easy to access.
After setting it up:
- Place your sleeping bag inside
- Organize your clothes
- Keep a flashlight nearby
- Put personal items in one location
- Keep shoes outside or in a designated area
- Keep the tent floor free of unnecessary equipment
Avoid using your tent as general storage. The more organized your sleeping area is, the easier it will be to relax and sleep.
4. Keep Your Camping Gear Organized
Camping equipment can quickly become difficult to manage, especially on longer trips.
Use separate bags or containers for different categories.
For example:
Cooking gear:
Stove, fuel, cookware, plates, cups, utensils, and cleaning supplies.
Personal items:
Clothing, toiletries, medications, towels, and electronics.
Outdoor gear:
Flashlights, batteries, chairs, tools, ropes, and other equipment.
Emergency supplies:
First-aid supplies, emergency blankets, navigation equipment, and other essentials.
Labeling containers can make finding equipment much faster.
Instead of searching through several bags for a spoon or flashlight, you’ll know exactly where to look.
5. Organize Your Cooking Area
A messy cooking area can make camping much harder.
Try to create a simple outdoor kitchen with everything you need within easy reach.
A useful setup includes:
- Camping stove
- Fuel
- Cooking pot or pan
- Cutting board
- Knife
- Plates and bowls
- Cups
- Utensils
- Paper towels or reusable towels
- Dishwashing supplies
- Drinking water
- Food storage containers
Keep frequently used items close to your cooking surface.
After cooking, clean your equipment immediately rather than allowing dirty dishes to pile up.
6. Keep Food Secure and Organized
Food organization is especially important when camping.
Store food in sealed containers or appropriate coolers and keep it protected from wildlife.
Do not leave food, wrappers, or dirty dishes scattered around your campsite.
A simple food system can include:
Dry food:
Store snacks, bread, pasta, cereal, and other shelf-stable foods together.
Cold food:
Keep meat, dairy products, drinks, and other perishable foods in your cooler.
Cooking supplies:
Keep spices, oil, utensils, and cooking ingredients together.
This system makes meal preparation faster and reduces unnecessary searching.
Always follow the food-storage rules and wildlife precautions for the campground or park you’re visiting.
7. Use a Camping Table as Your Organization Center
A camping table can make a huge difference.
Instead of placing cooking equipment and food on the ground, use your table as a central workspace.
You can divide the table into sections for:
- Food preparation
- Cooking equipment
- Eating utensils
- Drinks
- Cleaning supplies
At the end of the day, clear the table and return everything to its designated storage container.
This simple habit can prevent a lot of campsite clutter.
8. Create a Dedicated Shoe Area
Shoes are one of the easiest ways to bring dirt, mud, and moisture into your tent.
Create a small shoe station near the entrance.
You can use:
- A small mat
- A plastic storage box
- A waterproof bag
- A simple shoe tray
Keep your everyday shoes, hiking boots, and sandals in this area.
This keeps the inside of your tent cleaner and makes it easier to find your footwear.
9. Keep Wet and Dirty Gear Separate
Wet clothes, muddy shoes, towels, and camping equipment should not be mixed with your clean belongings.
Use waterproof bags or separate storage containers for wet gear.
For example, create a simple system:
Clean clothes → Clothing bag
Dirty clothes → Laundry bag
Wet gear → Waterproof bag
Shoes → Shoe area
This prevents moisture and dirt from spreading throughout your campsite.
10. Organize Your Campsite at Night
Your campsite should be even more organized before you go to sleep.
Before bedtime, take a few minutes to:
- Store food properly
- Wash and store dishes
- Put away sharp objects
- Secure loose equipment
- Close storage containers
- Place your flashlight nearby
- Keep shoes where you can find them
- Check that important items are protected from weather
A five-minute cleanup before bed can make your morning much easier.
11. Keep Trash Under Control
Never allow trash to accumulate around your campsite.
Use a dedicated trash bag or container and keep it secured according to local campground rules.
Separate items if recycling facilities are available.
A good rule is:
If you brought it into the campsite, plan to take it back out.
Leave No Trace principles encourage campers to minimize their impact and leave natural areas as they found them.
12. Make a Simple Campsite Storage System
You don’t need expensive camping organizers to keep everything under control.
Simple storage solutions can work surprisingly well.
Consider using:
- Plastic storage bins
- Packing cubes
- Mesh bags
- Zippered pouches
- Hanging organizers
- Waterproof dry bags
- Reusable shopping bags
Use one container for each major category instead of putting everything into one large bag.
This makes packing, unpacking, and cleaning much easier.
13. Keep Frequently Used Items Easy to Reach
Not everything should be buried at the bottom of your backpack.
Items you use frequently should be easy to access.
Examples include:
- Water bottle
- Sunscreen
- Bug repellent
- Flashlight
- Snacks
- Hand sanitizer
- Rain jacket
- Phone
- Small first-aid supplies
Place these items in an accessible pocket or small organizer.
This saves time and prevents unnecessary digging through your camping gear.
14. Protect Your Campsite From Weather
Good campsite organization should also prepare you for changing weather.
Before rain arrives, make sure:
- Your tent is properly secured
- Rainfly is installed correctly
- Loose items are stored
- Food containers are closed
- Clothing is protected
- Electronics are kept dry
- Wet gear has a designated place
Wind can also turn lightweight equipment into hazards, so secure chairs, tarps, bags, and other loose objects when necessary.
15. Organize Your Campsite for Families
Family camping requires additional organization because there are usually more people and more equipment.
Give each person a designated storage space.
For example:
Adults: One container for personal gear.
Children: One small bag or storage bin for their clothing and personal items.
Shared gear: A separate area for cooking equipment, games, chairs, and other group items.
You can also create a small activity area for children with camping games, books, coloring materials, or outdoor toys.
The goal is to prevent everyone’s belongings from becoming one large pile.
16. Create a Campsite Checklist
A checklist can make campsite organization much easier.
Before leaving home, prepare a list that includes:
Shelter
- Tent
- Tent stakes
- Sleeping bags
- Sleeping pads
- Pillow
- Tarp or footprint
Cooking
- Camping stove
- Fuel
- Cookware
- Plates
- Cups
- Utensils
- Food
- Water
- Cooler
Organization
- Storage containers
- Trash bags
- Waterproof bags
- Laundry bag
- Camping table
- Chairs
Personal Items
- Clothing
- Shoes
- Toiletries
- Sunscreen
- Insect repellent
- Flashlight
- Phone charger
Safety
- First-aid kit
- Emergency supplies
- Navigation tools
- Weather information
Checking your list before leaving can prevent forgotten essentials.
17. Keep Your Campsite Minimal
One of the best campsite organization tips is to avoid bringing unnecessary equipment.
The more stuff you bring, the more difficult it becomes to organize.
Before packing an item, ask yourself:
Do I really need this?
If the answer is no, leave it at home.
A lighter and simpler campsite is usually easier to maintain.
18. Clean Up Before Leaving
When your camping trip is over, don’t rush through the cleanup process.
Walk around the entire campsite and check for:
- Food wrappers
- Small pieces of trash
- Tent stakes
- Ropes
- Bottle caps
- Forgotten equipment
- Food scraps
- Personal belongings
Pack everything carefully and make sure the campsite is clean before you leave.
The goal is to leave the area as close as possible to its original condition.
Simple Campsite Organization Layout
A simple campsite can be organized like this:
Tent → Sleeping Zone
Camping Table → Cooking & Eating Zone
Cooler → Food Zone
Storage Bins → Gear Zone
Chairs → Relaxation Zone
Trash Container → Waste Zone
Keeping these areas separate creates a natural flow around your campsite.
Common Campsite Organization Mistakes
Even experienced campers can make organizational mistakes.
Putting Everything Inside the Tent
Your tent should primarily be your sleeping and personal space. Using it as a storage room can make it uncomfortable and cluttered.
Leaving Food Out
Food should be stored securely rather than left on tables or around the campsite.
Mixing Clean and Dirty Gear
Keep dirty shoes and wet equipment away from clean clothes and sleeping gear.
Bringing Too Much Equipment
More equipment doesn’t necessarily mean a better camping experience.
Waiting Until Morning to Clean
Cleaning before bed prevents a messy start to the next day.
Final Thoughts
Learning how to organize a campsite can completely change your camping experience.
The most effective approach is simple: create different zones, give every item a designated place, keep food secure, separate clean and dirty equipment, and spend a few minutes organizing your campsite every evening.
You don’t need expensive organizers or complicated systems. A few storage containers, waterproof bags, a camping table, and a simple campsite layout can make a huge difference.
With a little preparation, your campsite can become a comfortable outdoor space where you can relax, cook, sleep, and enjoy nature without constantly searching for your gear.
Remember: a well-organized campsite means less stress, less clutter, and more time to enjoy the adventure.